Set up an openDAQ™ VirtualBox Device simulator
The openDAQ™ VirtualBox image provides a simulated Device that is discoverable by openDAQ™, and can be connected to using the openDAQ™ client. The Device itself outputs two sine wave Signals, with configurable parameters such as the signal amplitude and frequency.
To start, head over to The openDAQ™ downloads page and download the simulator image. Within this guide we will be using VirtualBox to run the simulator.
Running the simulator
-
Open VirtualBox and import the .ova simulator image by navigating to . Select the image file and click .
-
Start the
opendaq_device_simulatorimage. -
When you see the login screen, the simulator is already running in the background as a service (no login is required).
-
However, if you do want to login, the credentials are
User: opendaq,Password: opendaq.
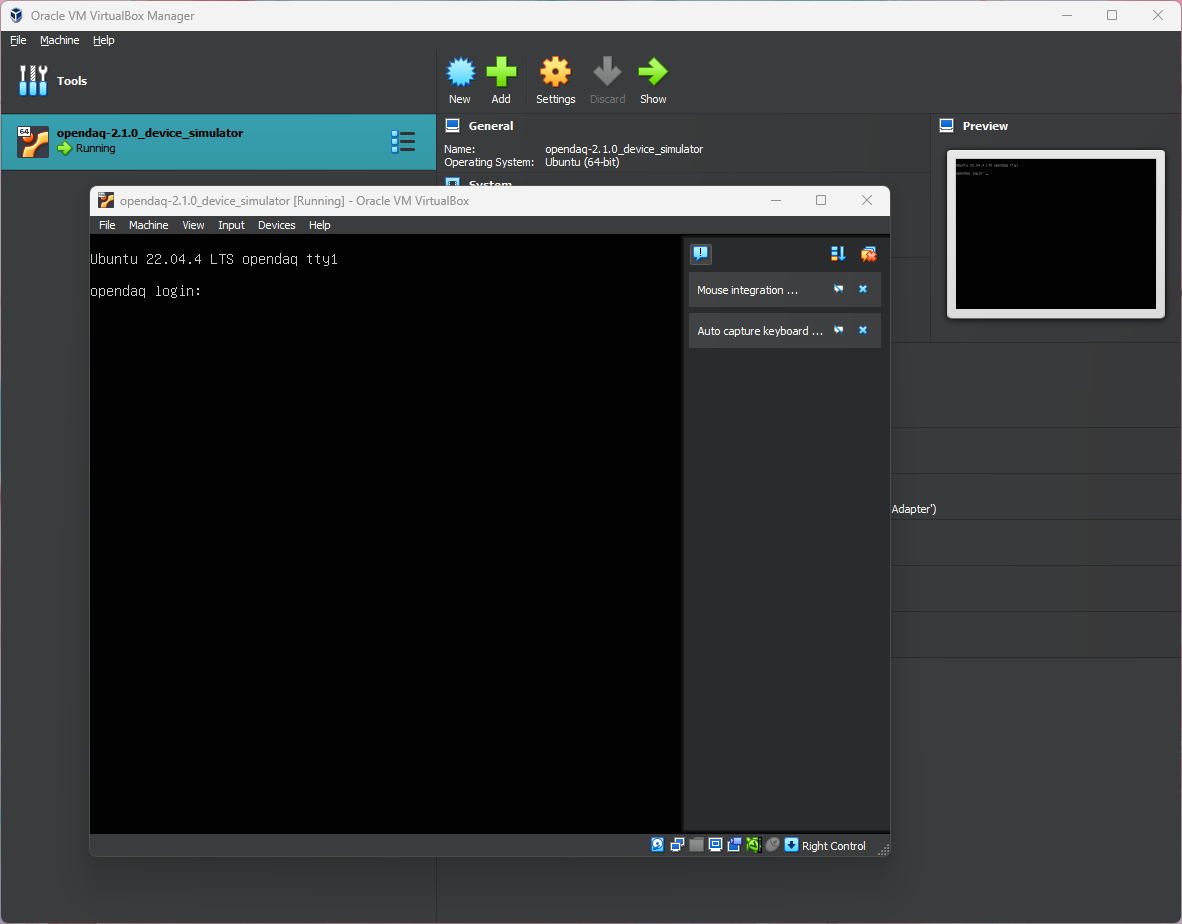
Your virtual machine should look similar to this:
Running multiple simulators at once
To run multiple simulated Devices at once, for us to be able to connect to them, they must be set up on a separate network adapter:
-
Follow Step 1 above to import another virtual machine.
-
Navigate to VirtualBox and click Create to create a new network adapter.
-
Open the settings for your 2nd virtual machine, and under switch the adapter to the newly created one.
You should now be able to discover and connect to both simulators.